Adding a booking form to your Blogger website is a game-changer for any small business, freelancer, or service provider in India. Imagine your blog working for you 24/7, taking appointments and scheduling clients even while you are sleeping. This guide will show you exactly how to add a booking form on Blogger without any coding knowledge, using simple, free tools. We will turn your simple blog into a powerful business machine. This is not just about adding a form; it is about making your business more professional, saving you time, and getting more customers. Whether you are a makeup artist in Mumbai, a consultant in Delhi, or run a local shop in a small town, a booking system can help you grow. Let's learn how you can easily set up your own online booking system and start getting appointments directly from your blog.
Why a Booking Form is a Must-Have for Your Blogger Site
Many people in India with a blog think it is just for writing articles. But your blog can be your main tool for business. Adding a booking form changes everything. It is like having a digital receptionist who works all day and night without getting tired. Let's see why this is so important for your business.
Works for You 24/7
Most small businesses can only take calls during work hours. What happens if a customer wants to book your service late at night? They will probably go to a competitor. A booking form on your Blogger site is always open. Customers can check your available times and book an appointment whenever they want, from their mobile phone or computer. This means you never miss a potential customer again.
Makes You Look Professional
When a customer visits your blog and sees a clean, easy-to-use booking form, it builds trust. It shows that you are a serious business. Instead of back-and-forth messages on WhatsApp or phone calls to fix a time, the customer can do it all in one place. This smooth experience makes customers feel confident in your services. A professional booking system can be the one thing that makes a customer choose you over another business.
Reduces No-Shows and Saves Time
A big problem for service businesses is customers not showing up for their appointments. Many booking form tools can automatically send email or SMS reminders to your clients before their appointment. This simple reminder can greatly reduce the number of no-shows. It also saves you a lot of time. You no longer need to manually call or message every client to confirm their booking. The system does it for you, so you can focus on serving your customers.
Helps You Manage Your Business Better
An online booking system keeps all your appointments organized in one place. You can see your daily, weekly, or monthly schedule at a glance. Some tools even sync with your Google Calendar, so your personal and work schedules are always updated. This helps you avoid double bookings and manage your time effectively. For a busy freelancer or a local shop owner, this kind of organization is a blessing.
Booking Form vs. Contact Form: What's the Difference?
Many beginners get confused between a contact form and a booking form. They look similar but have very different purposes. Using the right one is important for your business. A contact form is like a suggestion box, while a booking form is like an appointment diary.
A contact form is for general questions. Customers use it to ask about your services, pricing, or location. It usually has fields for Name, Email, and a Message. It is a way to start a conversation.
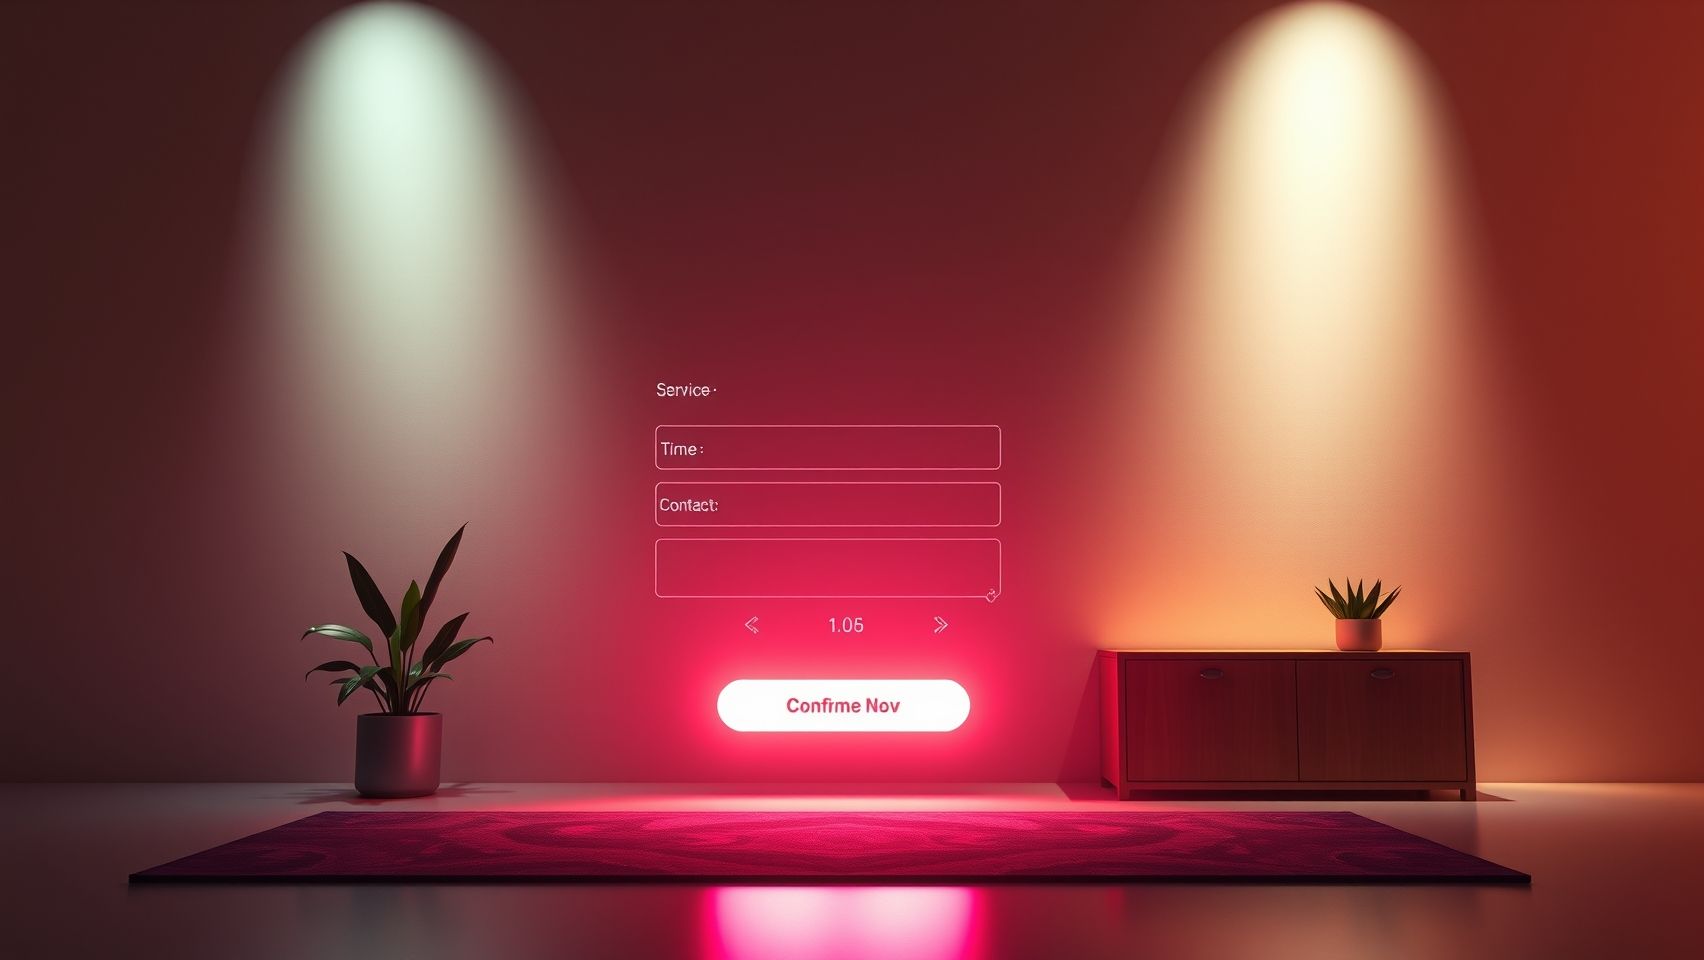
A booking form, on the other hand, is for taking action. Customers use it to schedule a specific service at a specific time. It includes fields for selecting a service, choosing a date and time, and sometimes even making a payment. It is a tool for closing a deal. Understanding this difference helps you serve your customers better and make your business more efficient.
| Feature | Contact Form | Booking Form |
| Purpose | To collect general questions and feedback. | To schedule a specific appointment or service. |
| Key Fields | Name, Email, Message. | Service Selection, Date Picker, Time Slots, Phone Number. |
| Customer Action | Asks a question. | Makes a reservation. |
| Business Outcome | A new lead or query to follow up on. | A confirmed appointment in your calendar. |
| Example Use | A visitor asking if you offer home delivery. | A client booking a haircut for Saturday at 4 PM. |
Choosing the Right Tool to Create Your Booking Form
The best part about technology today is that you don't need to be a coder to build amazing things. There are many tools available that let you create a professional booking form in minutes. Let's look at some popular options that are great for beginners and small businesses in India.
Free Form Builders
These are the easiest way to get started. Tools like Jotform, Tally, and Google Forms are very popular. You can create a form by just dragging and dropping fields. They offer many templates that you can use. For a simple booking form, these tools are perfect. You create the form on their website and then they give you a small piece of HTML code. You just copy and paste this code into your Blogger page.
- Google Forms: Completely free and very simple. The data is saved in a Google Sheet, which is easy to manage. However, it looks basic and lacks advanced features like automatic reminders.
- Jotform and Tally: They offer free plans that are quite powerful. You can create beautiful, modern-looking forms. They offer more customization options and can be integrated with other apps. Their free plans might have some limits, like the number of bookings you can receive per month.
Dedicated Booking Platforms
If your business is growing and you need more power, you can look at dedicated booking platforms like Trafft, Calendly, or Appointy. These are not just form builders; they are complete scheduling systems.
- Calendar Sync: They automatically sync with your Google Calendar or Outlook Calendar to show your real-time availability and prevent double bookings.
- Payment Integration: You can collect payments or deposits directly through the form using gateways like Razorpay, Instamojo, or Stripe. This is great for reducing no-shows.
- Advanced Automation: They handle email and SMS reminders, follow-ups, and even allow customers to reschedule on their own.
These platforms are more powerful but usually come with a monthly fee. However, many offer a free plan with basic features that are enough for a solo business owner or a freelancer to start with.
Mini-Guide: How to Add a Booking Form on Blogger (Step-by-Step)
Now for the most important part. Let's go through the exact steps to add a booking form to your Blogger website. We will use a free form builder as an example because it's the easiest method for beginners. The steps are similar for most form builders.
Step 1: Create Your Booking Form
First, go to a form builder website like Jotform or Tally. Sign up for a free account. Once you are in, look for an option to create a new form. You can start with a blank form or choose a booking template to save time. A template will already have most of the fields you need.
Here are the essential fields your booking form should have:
- Name: To know who the customer is.
- Phone Number: Very important in India for quick communication and sending WhatsApp reminders.
- Email Address: For sending confirmation and reminder emails.
- Service Selection: A dropdown list or checkboxes where customers can choose the service they want (e.g., Haircut, Consultation Call, Product Demo).
- Date Picker: A calendar where they can select a date.
- Time Slots: A field to choose their preferred time. Good tools will only show the time slots where you are available.
- Additional Notes: A text box where they can mention any special requests.
Pro Tip: Keep your form as short as possible. The more fields you add, the less likely people are to complete it. Only ask for the information you absolutely need to secure the booking.
Step 2: Customize Your Form
After adding the fields, it's time to make the form look good. Most tools allow you to change colors, fonts, and add your business logo. Try to match the form's design with your Blogger site's design. This creates a seamless and professional look. You can also customize the success message that users see after they submit the form. A good success message could be: Thank you for your booking! We have sent a confirmation to your email.
Step 3: Get the Embed Code
Once you are happy with your form, look for a 'Publish', 'Share', or 'Embed' button. When you click it, the tool will give you several options. You need to find the HTML embed code. It will be a small block of text that starts with something like iframe or script. There will usually be a 'Copy Code' button. Just click that.
Step 4: Add the Code to Your Blogger Site
This is the final step. Log in to your Blogger dashboard.
- Decide where you want the form. You can create a new dedicated 'Book Now' page or add it to an existing post or even your sidebar. Creating a new page is the best option.
- Click on 'Pages' and then 'New page'. Give your page a title like 'Book an Appointment'.
- In the Blogger post editor, on the top left, you will see a pencil icon or a button with angle brackets. Click on it and switch from 'Compose view' to 'HTML view'.
- The editor will now show some HTML code. Delete anything that is already there and paste the code you copied from your form builder.
- Now, switch back to 'Compose view'. You might not see the form perfectly in the editor, but don't worry.
- Click the 'Preview' button to see how the form will look on your live blog. If it looks good, go ahead and click the 'Publish' button.
That's it! You now have a fully functional booking form on your Blogger website. Share the link to this new page on your social media and in your email signature to let people know they can book your services online.
Making Your Booking Form Work for Indian Businesses
A booking form is not a one-size-fits-all solution. How you use it can change depending on your business. Here are some real-world examples for different types of businesses in India.
For Local Shops (e.g., Kirana, Boutique, Sweet Shop)
Even a local shop can use a booking form. You can use it to take pre-orders for special items or during festivals. For example, a sweet shop can create a form for Diwali pre-orders. A boutique can use it to schedule private shopping appointments. This makes your shop feel more exclusive and helps you manage crowds.
For Service Providers (e.g., Plumber, Makeup Artist, Fitness Trainer)
This is the most common use case. If you are a makeup artist, clients can book you for bridal makeup or party makeup. A fitness trainer can have clients book their personal training sessions. A plumber or electrician can let customers schedule a visit to their home. This saves you from endless phone calls and lets you focus on your work.
For Freelancers (e.g., Writer, Designer, Consultant)
If you are a freelancer, your time is your money. A booking form is perfect for scheduling client consultation calls. You can set your availability and share your booking link with potential clients. They can pick a time that works for them, and the appointment automatically gets added to your calendar. This makes you look very professional and organized.
For Online Tutors and Coaches
If you teach online, you can use a booking form for students to book their classes. You can even create different forms for group classes and one-on-one sessions. Integrating a payment gateway means students have to pay before they can book a class, which ensures you get paid on time.
Supercharge Your Booking Form with Automation
Once your booking form is live, you can make it even more powerful with automation. Don't be scared by the word 'automation'. It's just about connecting different apps so they work together automatically. It's like setting up a team of digital assistants.
Tools like Zapier and n8n allow you to create simple 'if this, then that' workflows. For example:
- Automated Calendar Entry: When someone fills your booking form (if this), automatically create an event in your Google Calendar (then that).
- Instant WhatsApp Confirmation: When a new booking is made, automatically send a confirmation message to the customer's WhatsApp number. Customers in India love getting updates on WhatsApp.
- Add to Email List: When someone books your service, automatically add their email to your marketing list in a tool like Mailchimp. You can then send them future offers and updates.
Setting up these automations is quite easy. You just have to log in to a tool like Zapier, choose the apps you want to connect (e.g., Jotform and Google Calendar), and follow the on-screen instructions. It requires no coding and can save you hours of manual work every week.
Final Thoughts from Niranjan Yamgar
Your Simple Path to More Business
So there you have it. Adding a booking form to your Blogger site is one of the smartest and easiest things you can do for your business. It is not a complicated technical task anymore. With so many free and easy-to-use tools, anyone can set it up in less than an hour. It makes you look professional, saves you time, and most importantly, it helps you get more business. Stop letting your blog just be a collection of articles. Turn it into a real, working asset for your business. Start today, add that booking form, and watch your appointments fill up. If you want to take your business to the next level with smart strategies like this, you can always partner with a top-notch digital growth expert for your journey.